Start Frame and End Frame: How to Control AI Video Transitions
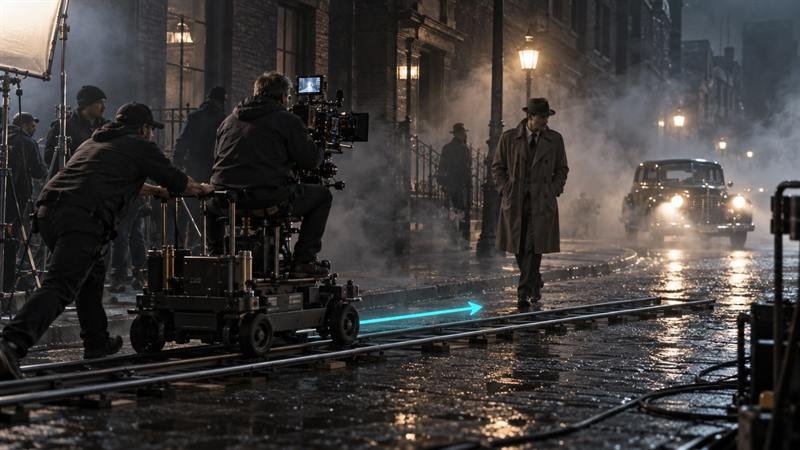
Give a video model one image and it has to guess where the shot ends. Give it two, a start frame and an end frame, and it only has to work out the path between them. That single change turns AI video from “let's see what happens” into “this is the shot I planned”.
Here's how start and end frames work, how to design a good pair, and how to prompt the move between them.
Support for first and last frames varies by platform, model version and plan. Several major tools, including Veo and Kling, offer it; check your tool before planning a shot around it.
What the end frame gives you
Control over the ending. The clip lands exactly where you want: the product in position, the character facing camera, the room transformed.
Less drift. With both ends fixed, the model has less room to wander. Faces and objects hold together better.
Planned transformations. Day to night, empty to full, closed to open, before to after. Things that are nearly impossible to describe precisely in words alone.
Designing a good pair
Same camera, or a clear camera change. The easiest pairs share lens, angle and light, with only the subject or scene changing. If the camera should move, make the change clear and physically possible: a wider version of the same view, or a view from further round the same object.
Same world. Keep the location, style and colour consistent. An end frame in a different film look forces the model to morph the whole image.
A believable path. Ask yourself: could a real camera and a real subject get from A to B in this many seconds? A cup filling with coffee in 6 seconds: yes. A seedling becoming an oak: only as a time-lapse, and you should say so.
The same subject, identically. Make both frames from the same prompt and settings, changing only what should change. If the face in B differs from A, the model will morph it mid-clip.
Prompting the path
The prompt describes how you get from A to B. Name the kind of transition.
Continuous move
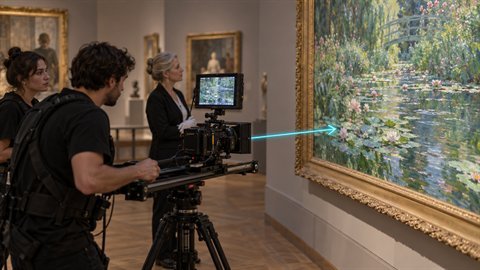
The camera travels from view A to view B.
Natural action
The subject performs an action that connects the frames.
Time passes
The scene changes over time while the camera holds.
Smooth morph
One thing transforms into another.
Match transform
A shape in A becomes a similar shape in B.
Light wash
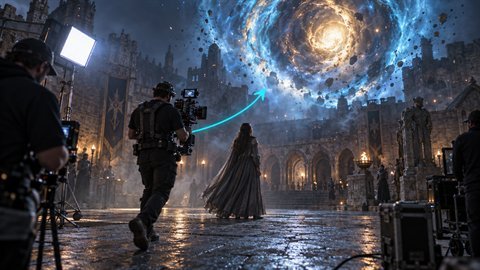
A burst of light bridges two different states.
Frame Juice Motion Pro has an end frame slot next to the start frame, and seven start-to-end transition types that write the path for you, from continuous move to light wash.
Common failures and fixes
The middle morphs strangely. The frames are too different. Bring them closer together, or split the change into two clips.
Nothing happens until the last second, then everything jumps. Describe the pacing: gradually over the whole clip, steadily from start to end.
The camera wobbles between two viewpoints. Say exactly which kind of move connects them, and keep the lens the same in both frames.
The subject changes identity. Generate B from A where your image tool allows it (edit or variation), rather than from scratch.
Ideas that work well
- Reveals: a closed box, then the open box with the product inside.
- Before and after: a messy desk, then the tidy desk.
- Time: a street at noon, then the same street at blue hour.
- Assembly: scattered parts, then the finished object.
- Emotion: a neutral face, then a smile.
- Loops: use the same image as both frames for a seamless loop, which our loop guide covers.
More articles
Image to Video Prompts: What to Write When the Image Sets the Look
In image to video, the picture already sets the look. Here's what your prompt should describe instead: camera, action, environment, light and sound.
Camera moves for AI video: a working vocabulary
Push-in, orbit, crane, FPV: the camera words that make Veo, Kling and Runway move the way you mean, with example prompts.
Five checks before you spend credits on AI video
Length, aspect ratio, motion load, hands and text: the five things to check in an AI video prompt before you render.