Image to Video Prompts: What to Write When the Image Sets the Look
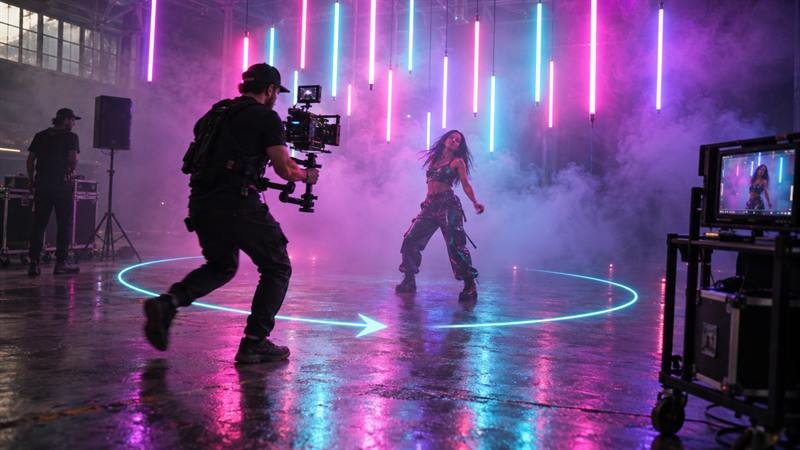
Image to video is the most controllable way to make AI video right now. You design the perfect frame first, as an image, and then ask the model to bring it to life. But most people write their video prompt as if the image didn't exist. They describe the woman, her red coat, the neon street, the rain, the film look, all over again.
That's the mistake. In image to video, the picture already sets the look. Your prompt should describe what the picture can't: what moves, how, and when.
Why re-describing the image hurts
When you describe the image again, the model tries to match your words and the picture at the same time. Any small difference (you wrote “red coat”, the image has a burgundy one) becomes a tug of war. The result is drift: faces slowly changing, colours shifting, details morphing as the clip plays.
Describe the subject in simple, general words instead: the woman, the car, the dog. The image already knows the details.
The five things to describe
1. The camera move
One move, with speed. This is the most important line.
2. The subject's action
What the subject does, in one clear verb. Keep it small and physical. Big actions (running, fighting, dancing) are harder to hold together.
3. The environment's motion
What moves around the subject. This makes the world feel alive even when the subject barely moves.
4. Light over time
If the light should change, say how. Otherwise leave it out, and the lighting stays as it is in the image.
5. Sound, if your platform supports it
Dialogue, sound effects, ambience, music. Our audio guide covers the layers.

A worked example
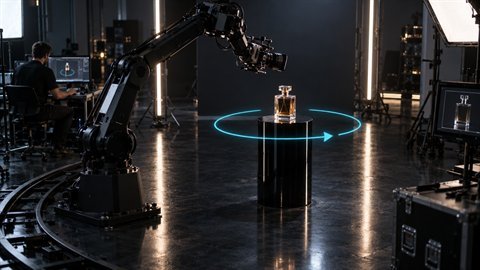
The start frame: a woman in a red wool coat on a rainy neon street at night.
Wrong:
Right:
The second prompt is shorter and has almost no appearance words. Everything in it is motion.
Frame Juice Motion is built around this. Paste your image prompt into the start frame, press READ, and it takes only the subject and ratio from it, so your video prompt stays about motion. The free version is here.
Keep the action small
Image to video works best when the start frame and the end of the clip are close cousins. A person turning their head, a car pulling away, a flower opening, steam rising. If the action would change the scene completely (the person walks out of a building and into a forest), the model has to invent too much, and quality drops.
For bigger changes, use an end frame as well. Our start and end frame guide shows how.
Choosing the start frame
The prompt can only move what the image makes possible.
- Leave room for the move. If you want a pull-back, the frame shouldn't be tightly cropped with important things at the edges.
- Pose for the action. A person mid-turn or looking off-camera gives the model a natural next step.
- Keep hands simple. Hands in complex poses often deform as they move.
- Match the ratio. Generate the image at the same aspect ratio as the video. Cropping later throws away the composition.
Settings that belong in the tool, not the prompt
Clip length, aspect ratio, audio on or off, and which image is the start frame are usually settings in the platform's interface. Writing “8 seconds, 16:9” in the prompt rarely does anything. Set them in the tool, and keep the prompt for motion.
Quick template
More articles
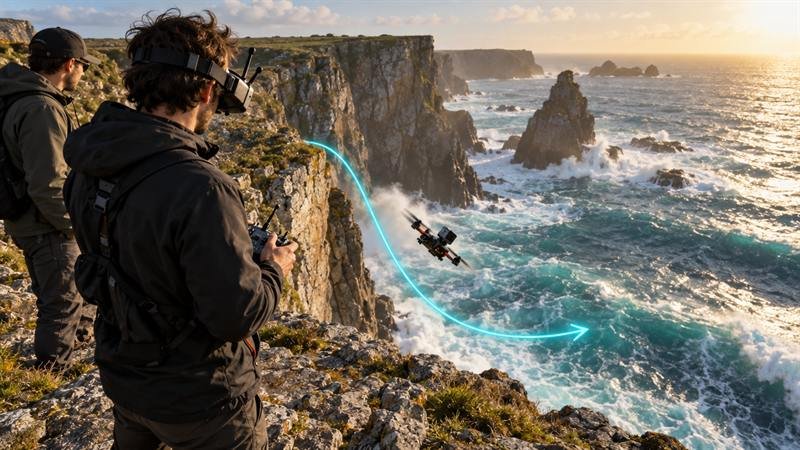
Camera moves for AI video: a working vocabulary
Push-in, orbit, crane, FPV: the camera words that make Veo, Kling and Runway move the way you mean, with example prompts.
Five checks before you spend credits on AI video
Length, aspect ratio, motion load, hands and text: the five things to check in an AI video prompt before you render.
Start Frame and End Frame: How to Control AI Video Transitions
Give the model two images and a path between them. How first and last frames work in AI video, how to design a good pair, and how to prompt the transition.